I finally got around to a long-planned project--installing some Quiver Killer binding inserts in my "all-around" skis. I have these mounted with telemark bindings now but want to be able to switch to AT bindings. Before the Quiver Killers it was either own two pair of skis or forget about it. Now I should be able to enjoy both!
The first step was just putting the Quiver Killers into the existing telemark binding holes. I figured it was good practice so when I started drilling for the AT bindings I wouldn't be as likely to mess up.
This jig is super handy for keeping the drill straight. Let me know if you want to borrow it.

Also handy is a drill bit with a custom head designed to exactly mirror the shape of the Quiver Killer insert. Nice, huh?

After carefully lining up and drilling all the holes, it's time to tap. The tap is very slightly larger than 1/4" and you need to be careful to count turns-I went 5-1/2 to make sure there was enough depth to get the inserts slightly below the topsheet. I overtapped the first ski (it's a foam core ski so that was easy to do) so here's hoping the inserts stay put!

 |
| Getting the tap started vertically is the difficult part. Make sure to back the tap up (reverse direction) a tiny bit about every half turn.
|
.
 |
| A Quiver Killer and the insertion tool up close. The insertion tool is squared at the end to fit into the tap wrench but I found that I could be much more precise turning them in using the tool by hand with no wrench handle. Otherwise it was hard to get a feel for when the insert was at the right spot. |
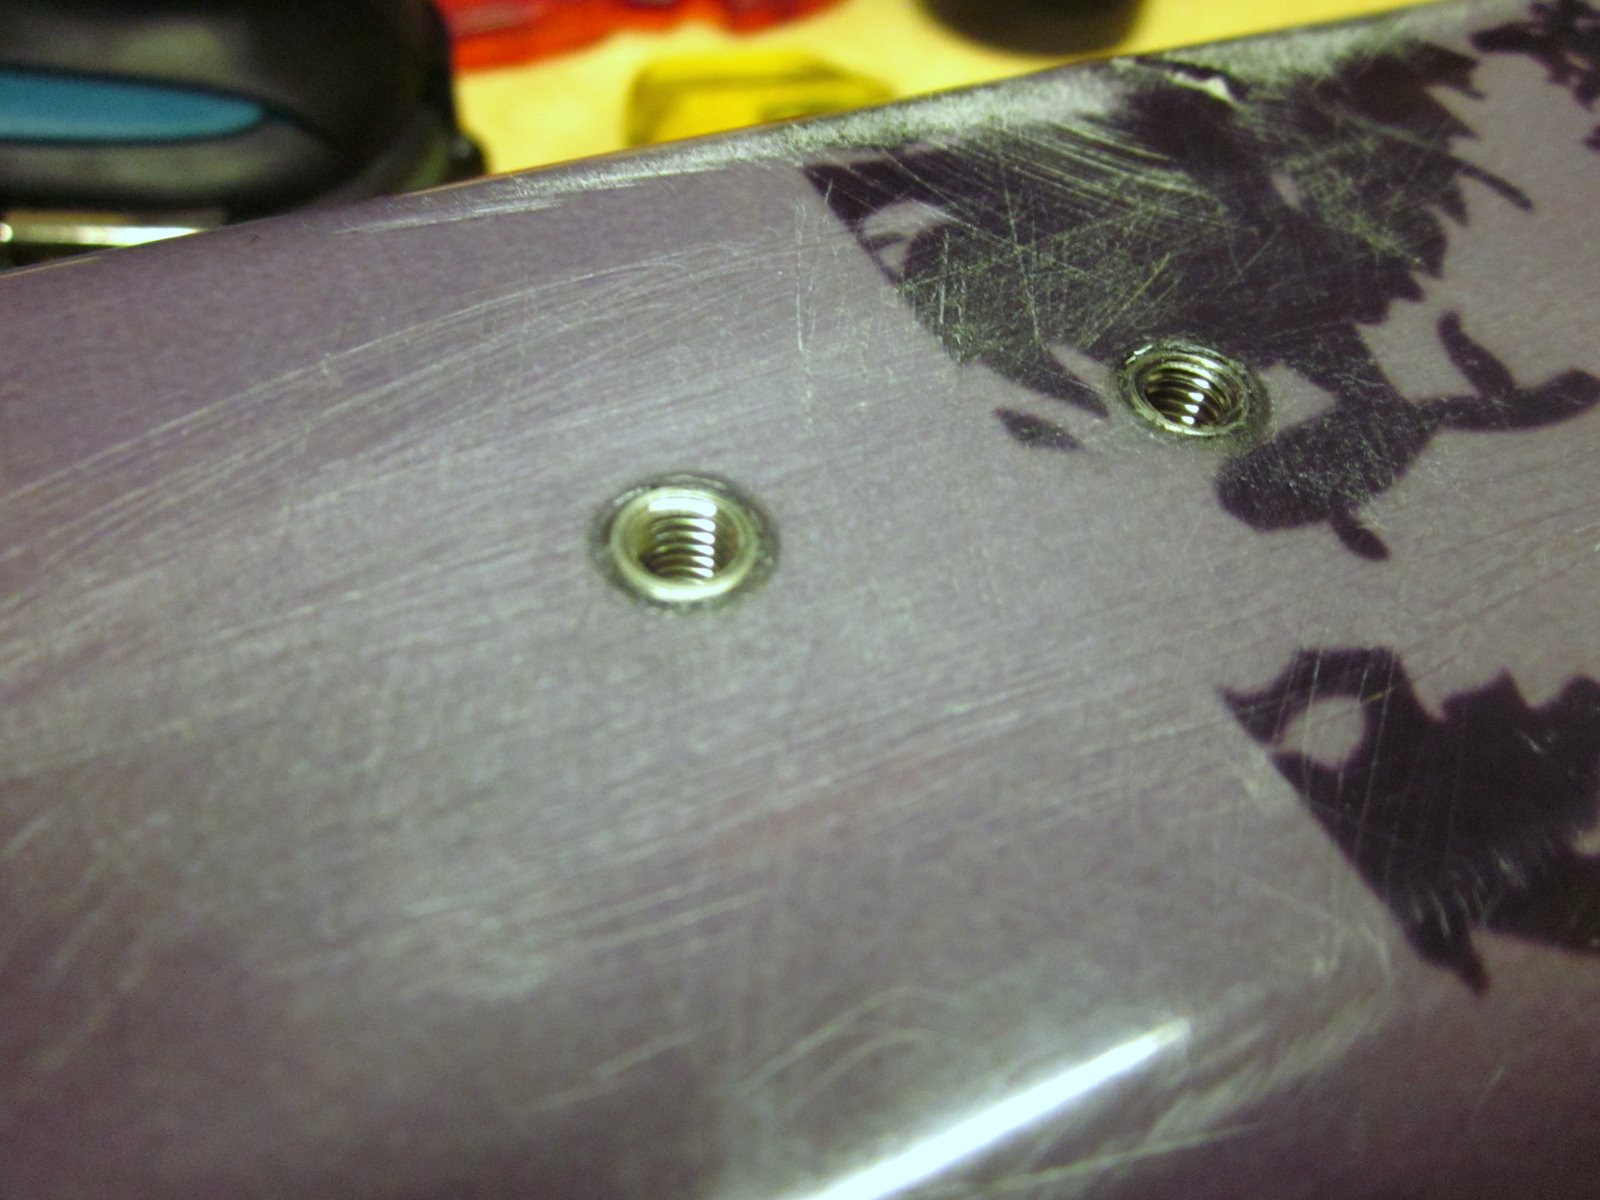
And the finished product:

I made sure to attach my bindings very minimally finger-tight so that the epoxy would set up with any "give" that was needed to fit the bindings to the inserts.